IssueOps Series: The GitHub Actions Toolkit for Github Repository Operations

Overview
The GitHub Actions Toolkit is a collection of Node.js packages designed to simplify creating custom actions, particularly for automating complex repository operations directly within your GitHub workflows. Instead of relying solely on pre-built actions or writing raw shell scripts for every task, the Toolkit provides an authoritative, consistent, and developer-friendly interface to interact with the GitHub API and the Actions runtime environment.
A Custom GitHub Action, built using the GitHub Actions Toolkit, can be configured to automate several Repository operations based on GitHub events or by scheduling GitHub Action workflows. This Blog Post will focus on a few common Repository operations that could be automated using GitHub Actions Workflows.
Common Repository Operations
Below is a list of common repository operations this blog post focuses on, with sample workflows and a custom toolkit to automate them.
Release Management - Create Tag: When a release tag is created in the repo, add/create a release
Config Management - Create a Branch: When a dev branch is added, create the Dev environment with configs
Access Management - Create a Branch: Add Branch, delete Protection. When a “master” or “release/**” branches are added to the Repo
Let’s now create some workflows and a custom actions toolkit to showcase the GitHub Repository Operations mentioned above.
Create a release - When a release tag is added in the Repo
Wokflow
name: create-release
on:
  create:
    tags:
      - ‘release/*’

jobs:
  create-release:
    runs-on: ubuntu-latest
    strategy:
      matrix:
        node_version: [22.x]
    steps:
      - name: create release
        uses: actions/issues-ops@v1
        with:
          GITHUB_TOKEN: ${{ github.token }}
          release: ${{ github.ref_name }}
          repo_owner: ${{ github.repository_owner }}
          repo: ${{ github.repository }}
Sample JS code to create a release branch
async function addRelease(request){
    await githubClient.request(”POST /repos/”+ request.repo_owner +”/” + request.repo +”/releases/”, {
        tag_name: request.tag_name,
        prerelease: request.prerelease
    }).then(response => {
        console.log(response);
    }).catch(err => {
        console.log(err)
    });
}
Release on GitHub

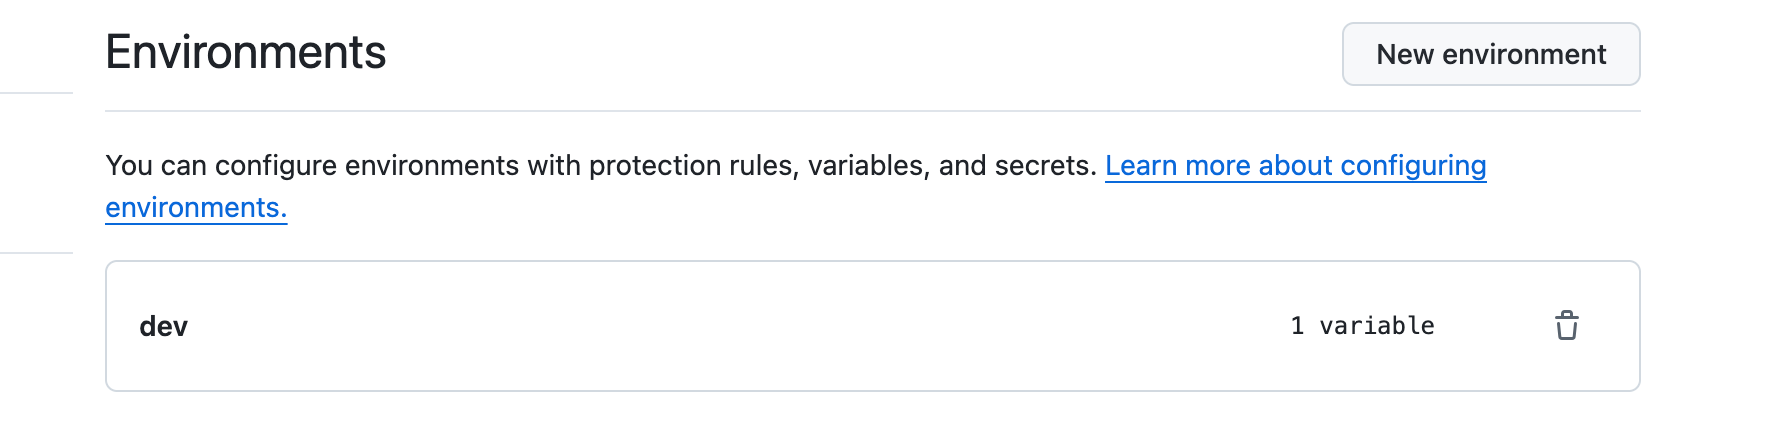
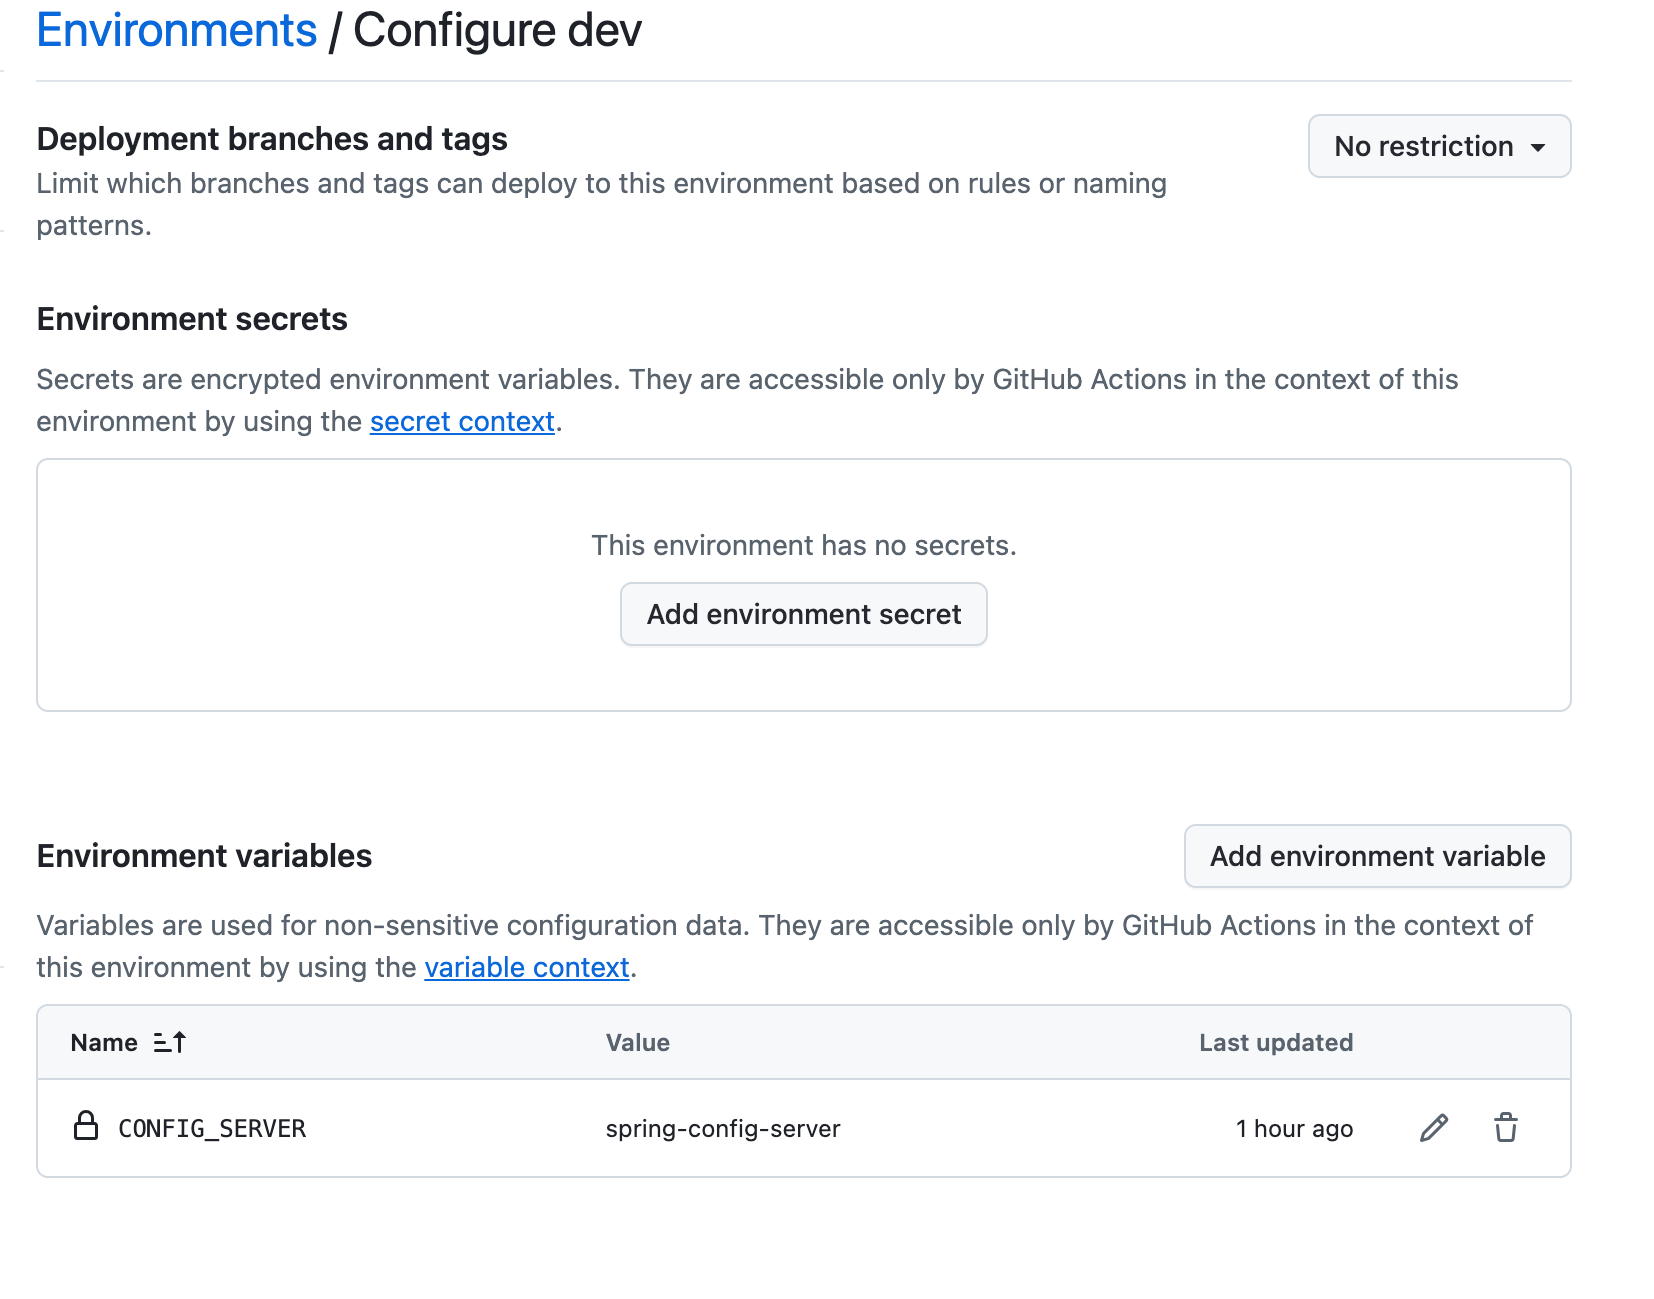
Create “Dev” Environment - When a “Dev” branch is added to the Repo
As mentioned above, here the workflow would be triggered when an environment-specific branch is added to the repo. For example, a new branch with the name “env/dev” would trigger the workflow to add a dev environment and its specific config variables to the repository. Here, the configurations could be pulled from a config server. The environment could then be used in the other CI/CD GitHub Actions pipelines.
Workflow
name: add env to repo
on:
  create:
    branches:
      - ‘env/*’
jobs:
  add-env:
    runs-on: ubuntu-latest
    strategy:
      matrix:
        node-version: [ 22.x ]
    steps:
      - name: add env to github repo
        uses: actions/issues-ops@v1
        with:
          GITHUB_TOKEN: ${{ github.token }}
          repo_owner: ${{ github.repository_owner }}
          repo: ${{ github.repository }}
          branch: ${{ github.ref_name }}
Sample JS code to create an Environment for the repository and the variables for the environment as configurations
async function addEnvironment(request) {
    await githubClient.rest.repos.createOrUpdateEnvironment({
        owner: request.repo_owner,
        repo: request.repo,
        environment_name: request.env
    }).then(async response => {
        console.log(response);
        await addEnvironmentVariables(request);
    })
}

async function addEnvironmentVariables(request) {
    for(const key in request.env_variables)
    {
        await githubClient.request(”POST /repos/”+ request.repo_owner +”/” + request.repo + “/environments/” + request.env + “/variables”,{
            name: key,
            value: request.env_variables[key]
        }).then(response => {
            console.log(response);
        }).catch(err => console.log(err));
    }
}
Dev Environment on GitHub
Add Branch Delete Protection - When a “master” or “release/**” branches are added to the Repo
Workflow
name: add branch protection
on:
  create:
    branches:
     - master,
     - ‘release/*’
jobs:
  add-branch-protection:
    runs-on: ubuntu-latest
    strategy:
      matrix:
        node_version: [22.x]
    steps:
      - name: call branch protection action
        uses: actions/issues-ops@v1
        with:
          GITHUB_TOKEN: ${{ github.token }}
          branch: ${{ github.ref_name }}
          repo_owner: ${{ github.repository_owner }}
          repo: ${{ github.repository }}
Sample JS Code to add branch delete protection
async function setBranchProtection() {
  try {
    await githubClient.rest.repos.updateBranchProtection({
      owner,
      repo,
      branch,
      enforce_admins: true, // Enforce rules for administrators
      restrictions: null, // No restrictions on users/teams/apps
      allow_force_pushes: false, // Disallow force pushes
      allow_deletions: false, // Disallow branch deletions
      allow_auto_merge: false, // Do not allow auto-merge
    });

    console.log(`Branch protection rule successfully applied to ‘${branch}’ branch in ‘${owner}/${repo}’.`);
  } catch (error) {
    console.error(”Error setting branch protection:”, error);
  }
}
Note: All code samples above require github token to create the GitHub client. The code samples are just to demonstrate the use cases. This blog post is part of the IssueOps series and the custom action “actions/issues-ops@v1” used in the workflow is prebuilt.
Conclusion
The GitHub Actions Toolkit, particularly the @actions/core and @actions/github packages transforms the GitHub Actions environment into a powerful platform for custom repository automation. It provides the structured building blocks and the necessary API access to create reliable, testable, and maintainable actions that manage everything from CI/CD to administrative tasks. Mastering the Toolkit is essential for developers looking to move beyond simple workflow steps and fully customize their repository’s lifecycle automation.